英语
英语 西班牙语
西班牙语 中文简体
中文简体The secret of sanding and furniture finish: An essential process for perfect surfaces!
Why do the sanding determine the quality of the finish?
Sanding is a fundamental stage in the furniture finish, since it directly influences the final result. A quality sanding sets the bases for an exceptional finish, offering the following benefits:
1. Elimination of imperfections: Removes, oxide, oil and dust from wood surfaces, creating a clean base for coating.
2. Greater superficial softness: the surfaces with putty are usually rough; Sanding alisa to get a uniform finish.
3. Adhesion improvement: smooth surfaces reduce the adhesion of coatings; Sanding favors mechanical union for lasting finishes.
Sanding is present throughout the finishing process, from the preparation of gross wood and putty application to the refining of primer and final paint layers. It is a key step to guarantee a bright and resistant finish.
Practical techniques for effective sanding
Achieving a high quality sanding requires skill and attention to detail. Next, some practical recommendations:
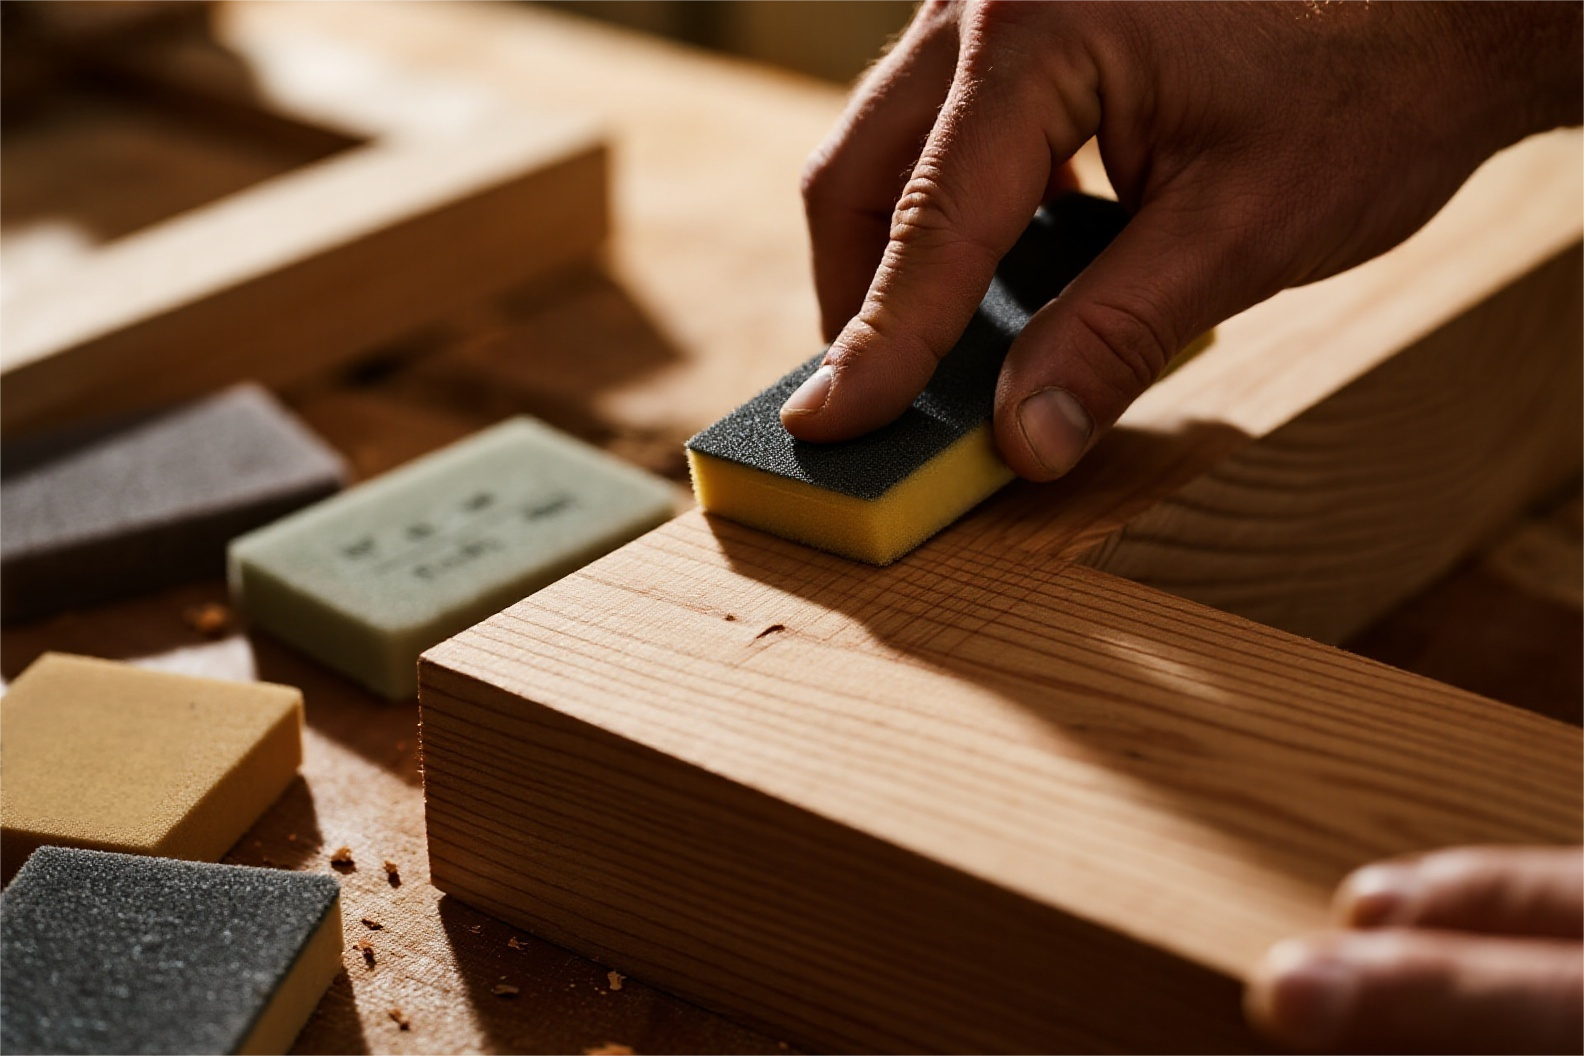
1. Choose the proper grain of sandpaper:
- Avoid using too thick paper or a single type of grain.
- Do not jump between grains (for example, from 200# to 600# or 800#), since this can leave visible marks.
2. Set in the direction of the vein: always sanding the vein of the wood to avoid tangrans that affect the aesthetics of the finish.
3. Protect edges and details: Sanding corners and edges softly to maintain its original shape, whether round or square. Decorative lines must remain straight, without bending or break.
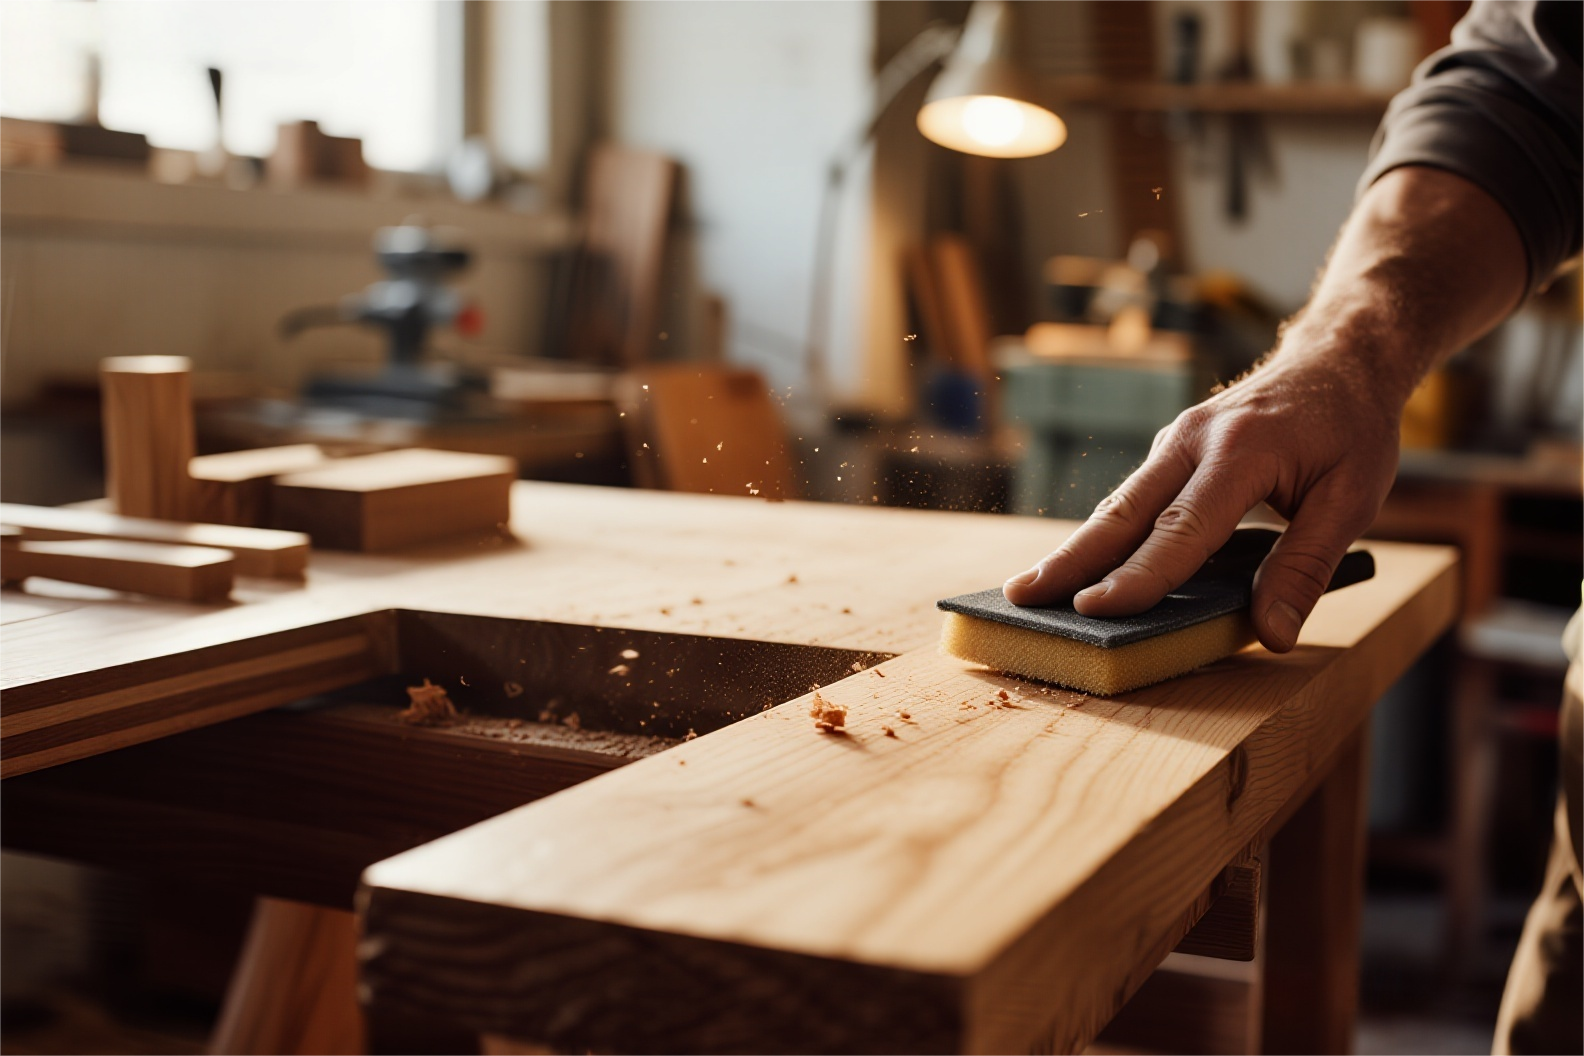
4. Correct handling of sandpaper: hold the paper with four fingers and the palm, ensuring the edges with the thumb. For large surfaces, use a block of wood or soft pad, sanding along the vein.
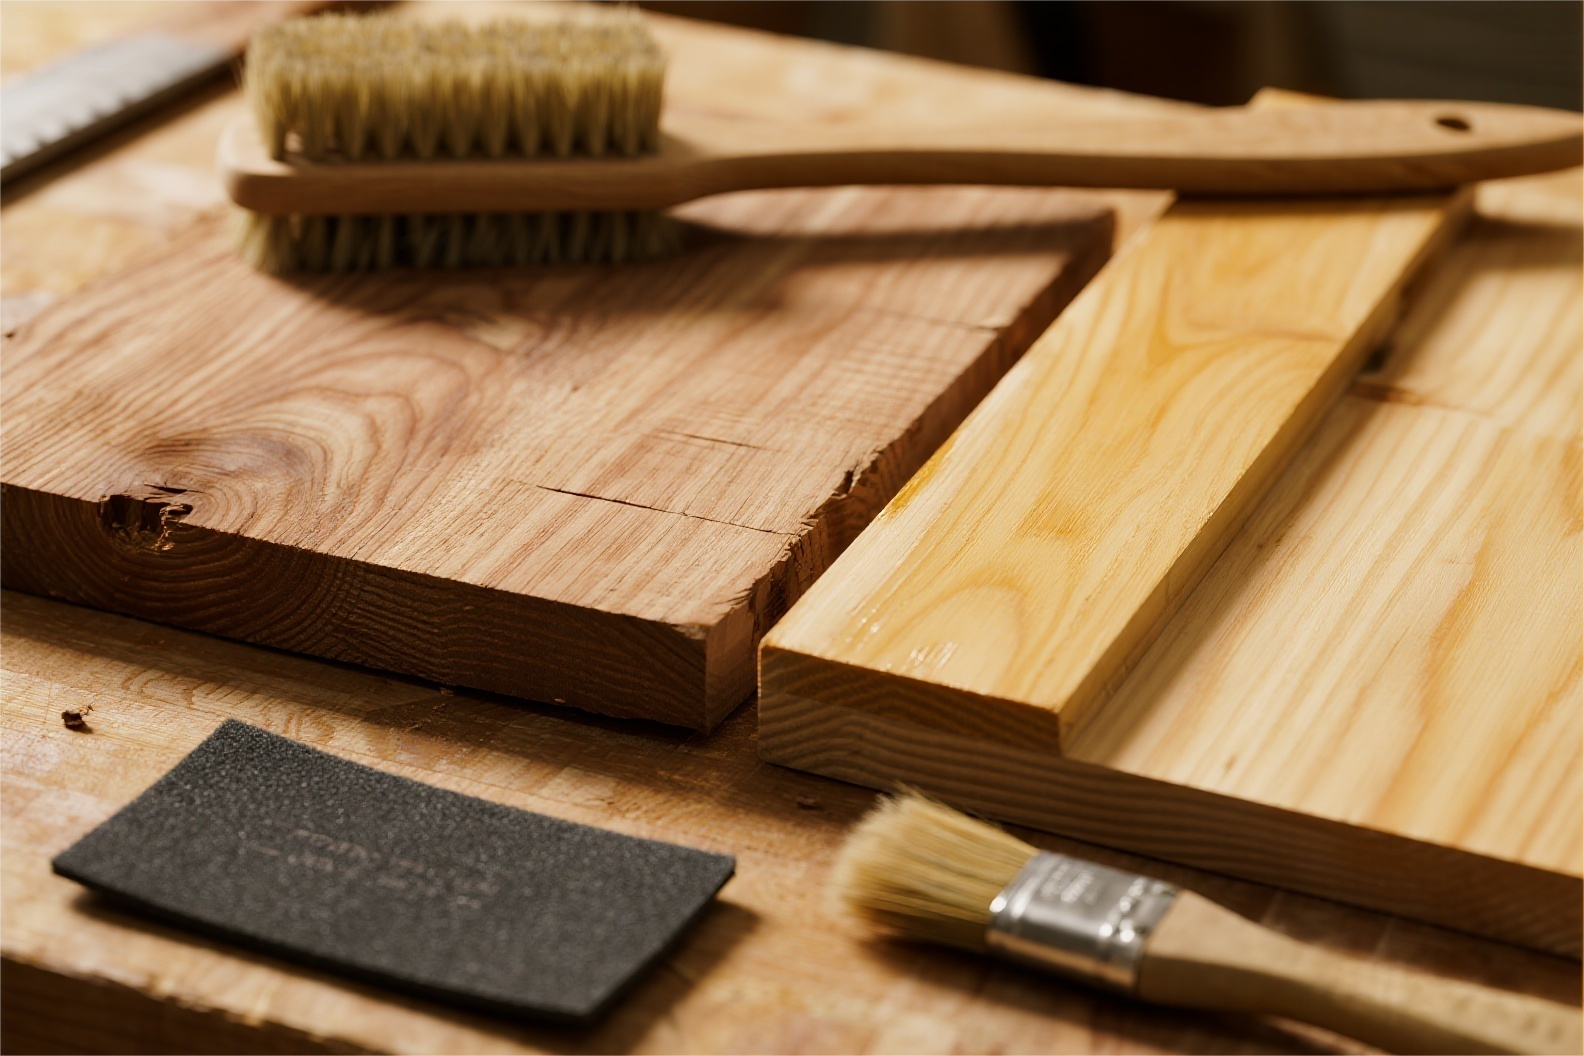
5. Clean during sanding: the generated dust can be embedded in the vein; Use a dry brush to constantly remove it and achieve a smooth surface.
6. Repair minor damage: for scratches or abolish, apply hot water and an iron to restore the surface before sanding. Avoid sanding large areas only with fingers so as not to create irregularities.
7. Sanding of curved parts: on arched or curved surfaces, use a template that matches the shape to hold the sandpaper. If you use electric or pneumatic sanders, follow the curves of the piece to avoid staggered surfaces.
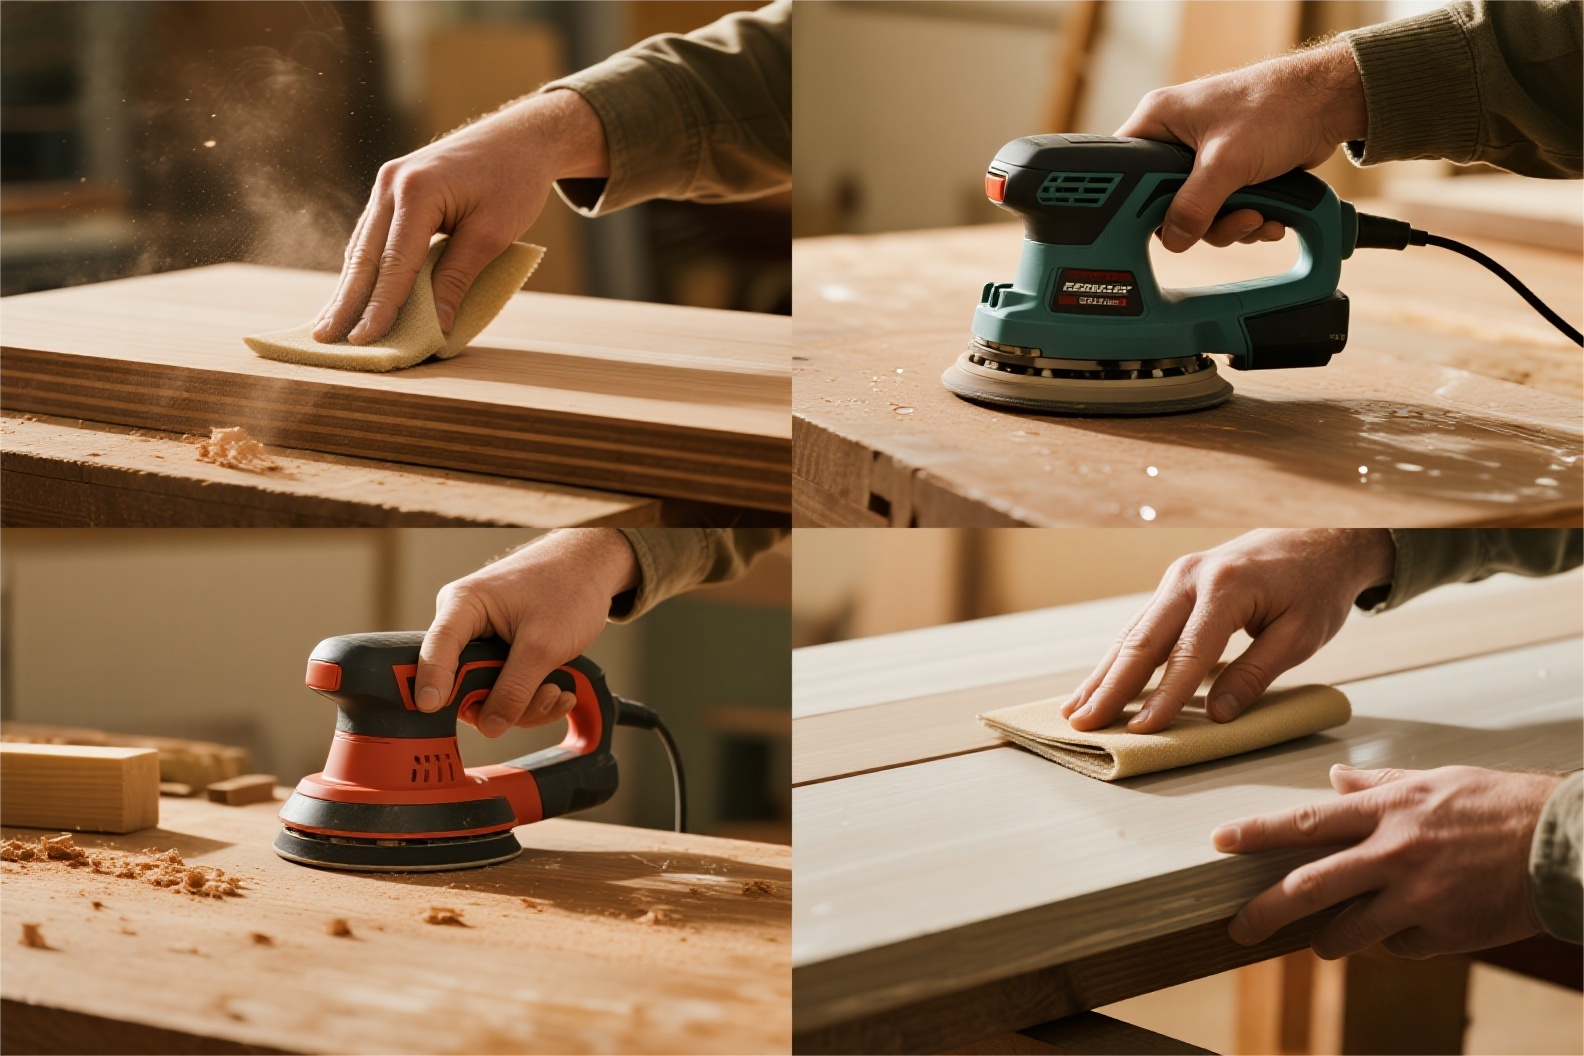
Versatile sanding methods
Depending on the characteristics of the piece and the needs of the project, different sanding methods can be used:
1. Dry sanding: It is done with sandpaper on hard and fragile surfaces. Its disadvantage is the generation of dust, so attention should be paid to the hygiene of the environment.
2. Wet sanding: Use sandpaper with water or soap to reduce marks, improve softness and save effort and paper. Considerations:
- Make sure the surface is completely dry before applying the following layer of paint to avoid whitening.
- Do not use wet sandpaper in very absorbent substrates.
3. Mechanical sanding: For large areas, electric sanders (disc or vibratory) increase efficiency, but require control to avoid excessively sanding.
4. Soft sanding: In cases such as sealants, repainted with old films or partial repairs, a “soft sanding” with fine paper and expert hands is required so as not to damage the surface.
Selection and use of sandpaper
1. Selection of sandpaper grain
Sanding paper grain directly affects the sanding result. Choose according to the process of the process:
- Gross wood: sandpaper 180#–240#
- Initial plywood or sandpaper: sandpaper 220#–240#
- Straight straightening: sandpaper 320#–400#
- Final Printing: Seach paper 600#–800#
- Final layer polishing: sandpaper 1500#–2000#
2. Sanding paper use techniques
- Manual sanding: cut the sandpaper into four parts, fold it and hold it with the thumb and piss, pressing with the other fingers to sand evenly.
- Flexible adjustment: Adapt the position of the fingers to sand concave, convex or edges with precision.
- Land of large surfaces: use the highest point as a reference, pressing with the palm or a sponge/wood pad to maintain uniformity.
- Safety caution: Keep your nails at an adequate length to avoid injuries during sanding.
Causes and solutions for sanding brands
1. Causes
- Sand against the vein, damaging the texture of the wood.
- Use too thick sandpaper or sanding before the coated coating.
- Slow drying solvents that delay the solidification of the coating.
- Too thin upper layers that do not cover sanding marks.
- Incomplete cleaning after sanding, leaving dust that affects adhesion.
- Clogged sandpaper, losing efficacy and causing irregular marks.
2. Solutions
- Select adequate grains: thicker for the initial sandpaper, thinner for later passes, eliminating previous marks.
- Always sanding in the direction of the vein to preserve the wood.
- Make sure the coatings are dry before sanding and cleanses the dust.
- Check the sandpaper for obstructions and change it when necessary.
- Adjust the viscosity of the paint and apply thick layers to cover marks.
Conclusion
Sanding is the soul of the furniture finish, defining both its aesthetic attraction and the durability of the coating. With the proper selection of sandpaper, expert scientific methods and techniques, you can significantly raise the quality of your furniture. Although mechanization progresses, the precision and flexibility of manual sanding remain insurmountable. Dominate these techniques and take your finishes at the next level!